2. Arduino
First, in this section, we need to download the Arduino IDE. You can follow the steps in the section below to install it.
After installing Arduino IDE and configuring the ESP32 board package according to this tutorial, we can install the libraries required for this project.
Installing Project Libraries
You can install the libraries in Arduino by yourself. We also provide related offline zip files. After downloading the code, you can find these two library files in the libraries folder.
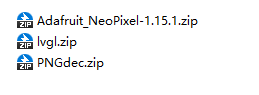
You need to open Arduino ‣ Sketch ‣ Include library ‣ Add .zip Library.
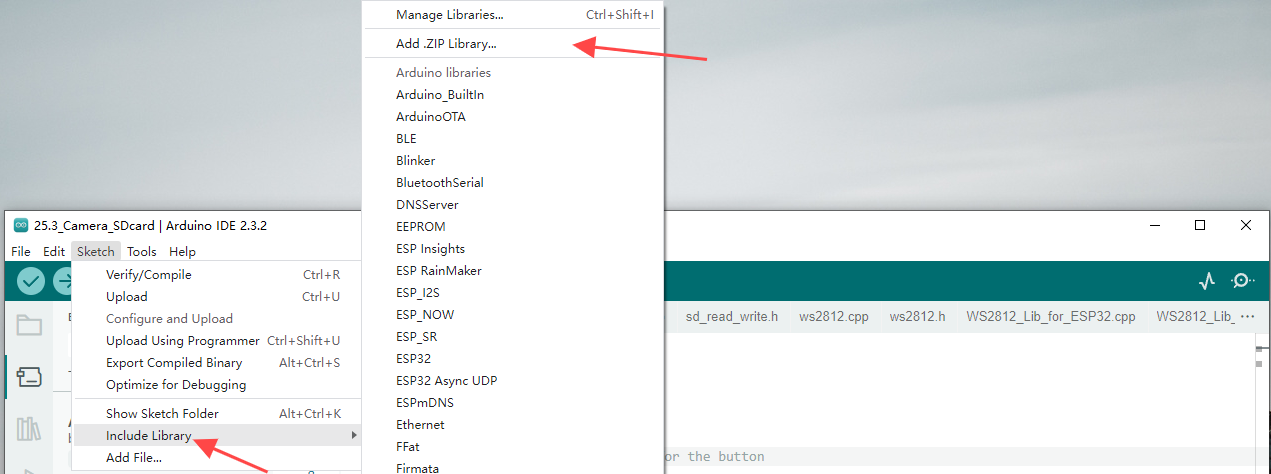
Then in the pop-up window, select each of our offline library files one by one and click install. You may need to perform this process three times to install all the libraries. After that, you can start compiling our project.
Compile Arduino Project
Let’s take the LVGL_Arduino project as an example. Double-click to open LVGL_Arduino.ino. The system will automatically open Arduino IDE. Then, set the port and board type as shown in the images below.
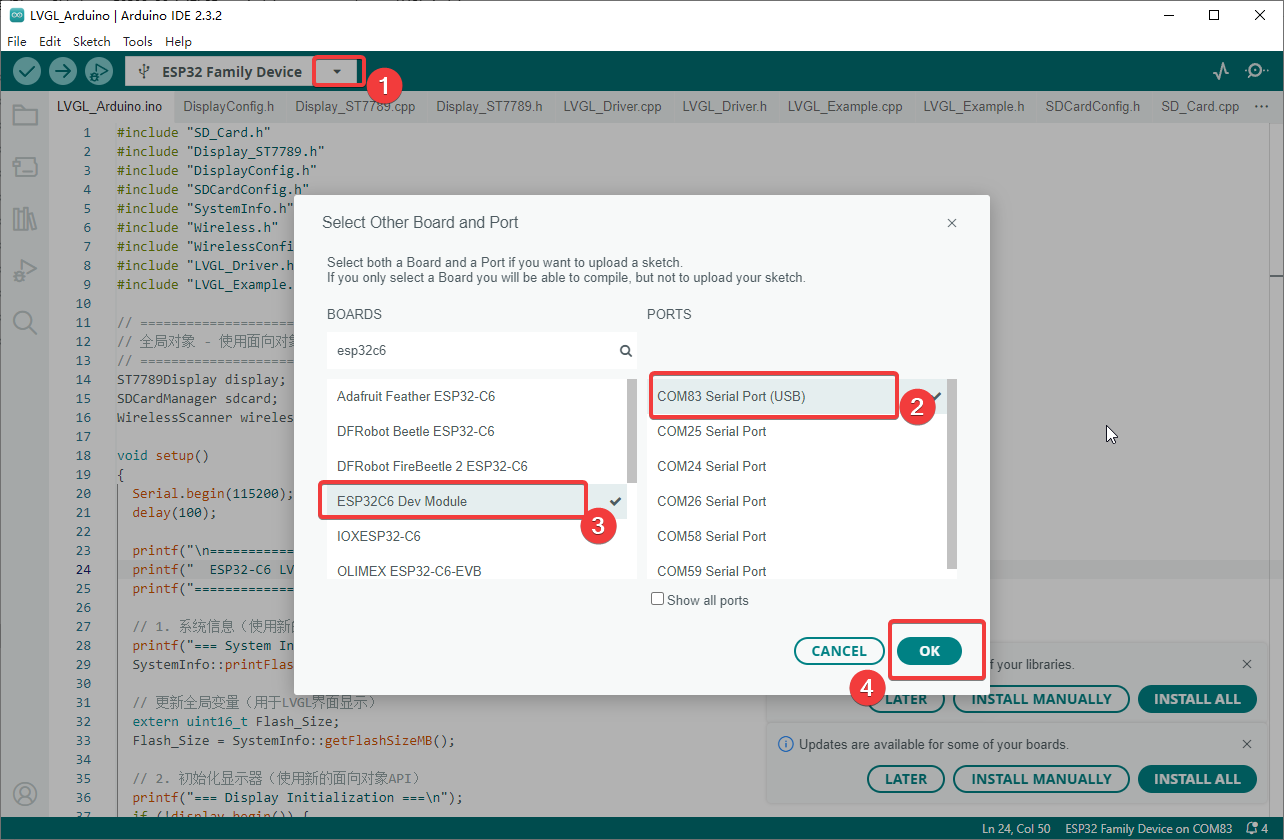
Note: Make sure the development board is connected to the correct port. You can find the port number in Device Manager.
We also need to adjust the partition table: Click Tools in the upper left corner > Select Partition Scheme > Select No OTA (2MB APP/2MB FATFS).
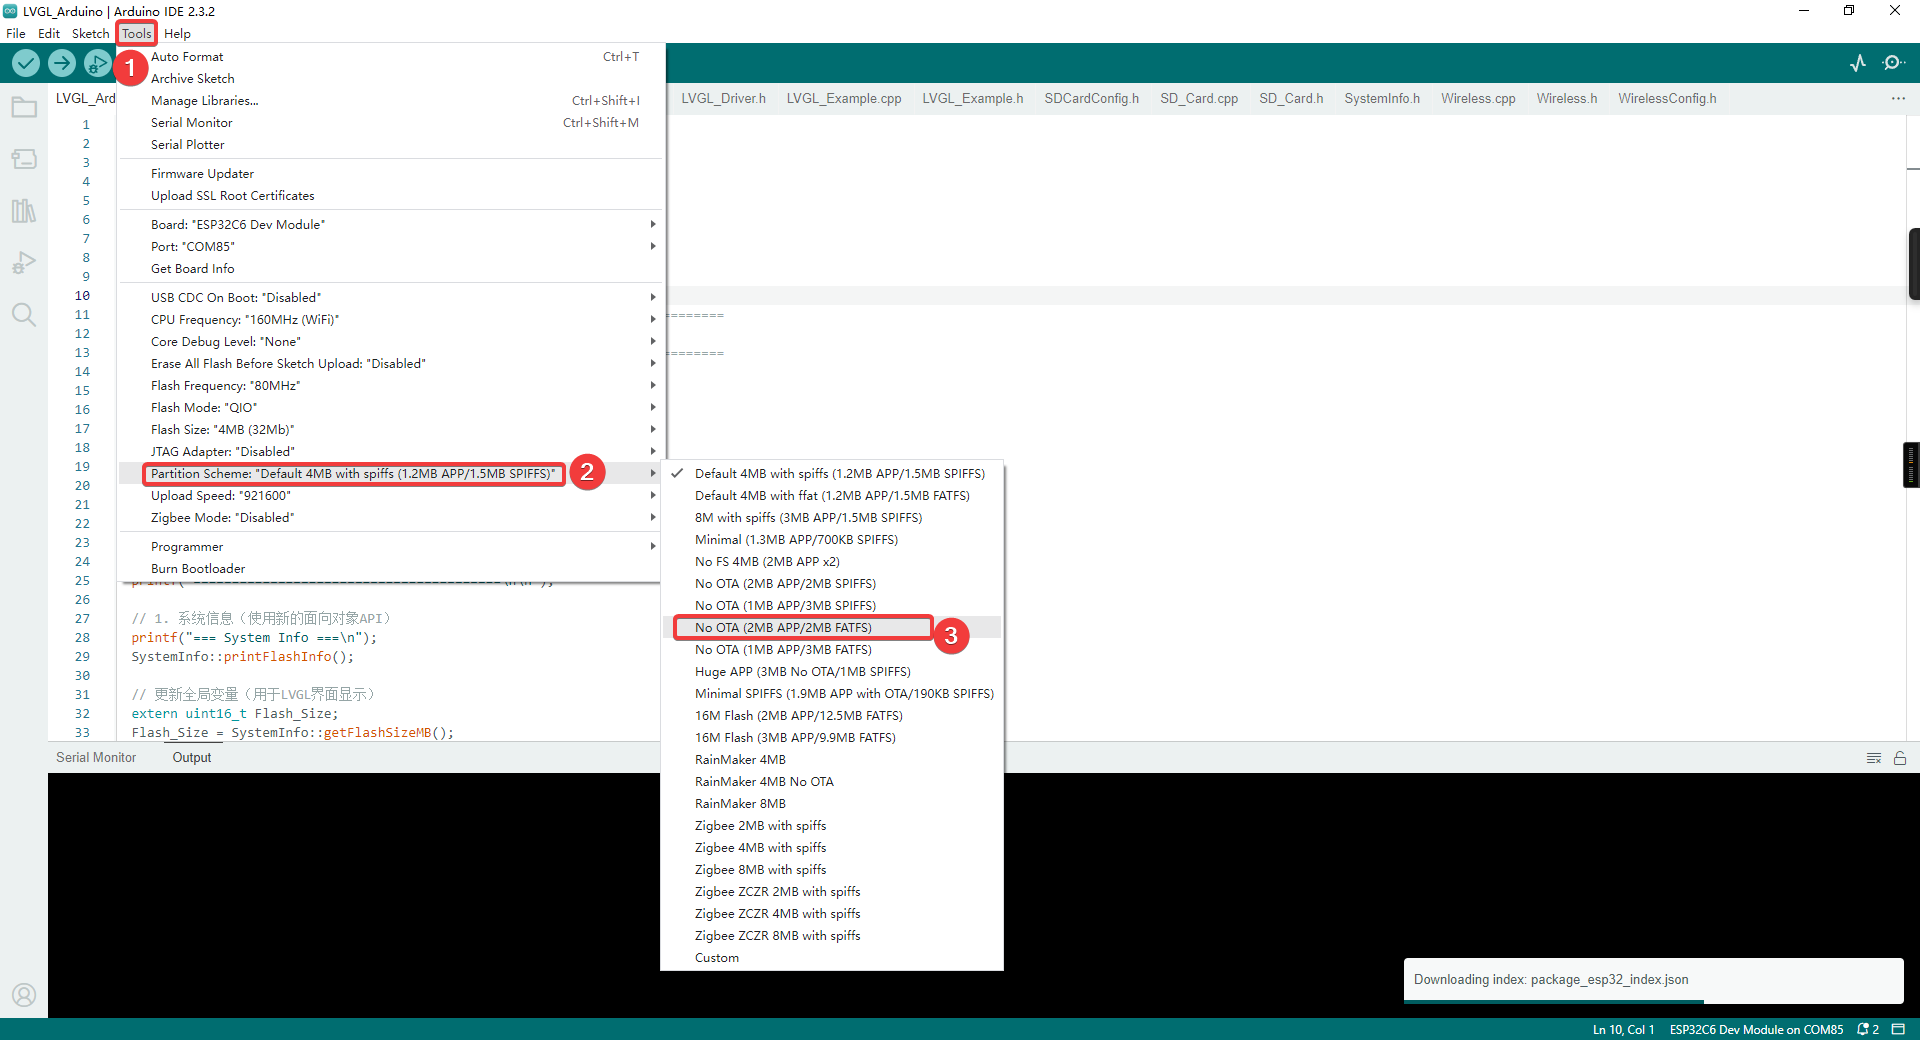
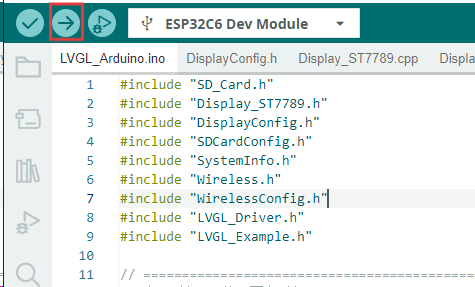
After configuration, click the right arrow button in the upper left corner to start compiling and uploading.
Attention
all project uses LVGL, which may take a long time, so please be patient
LVGL_Arduino
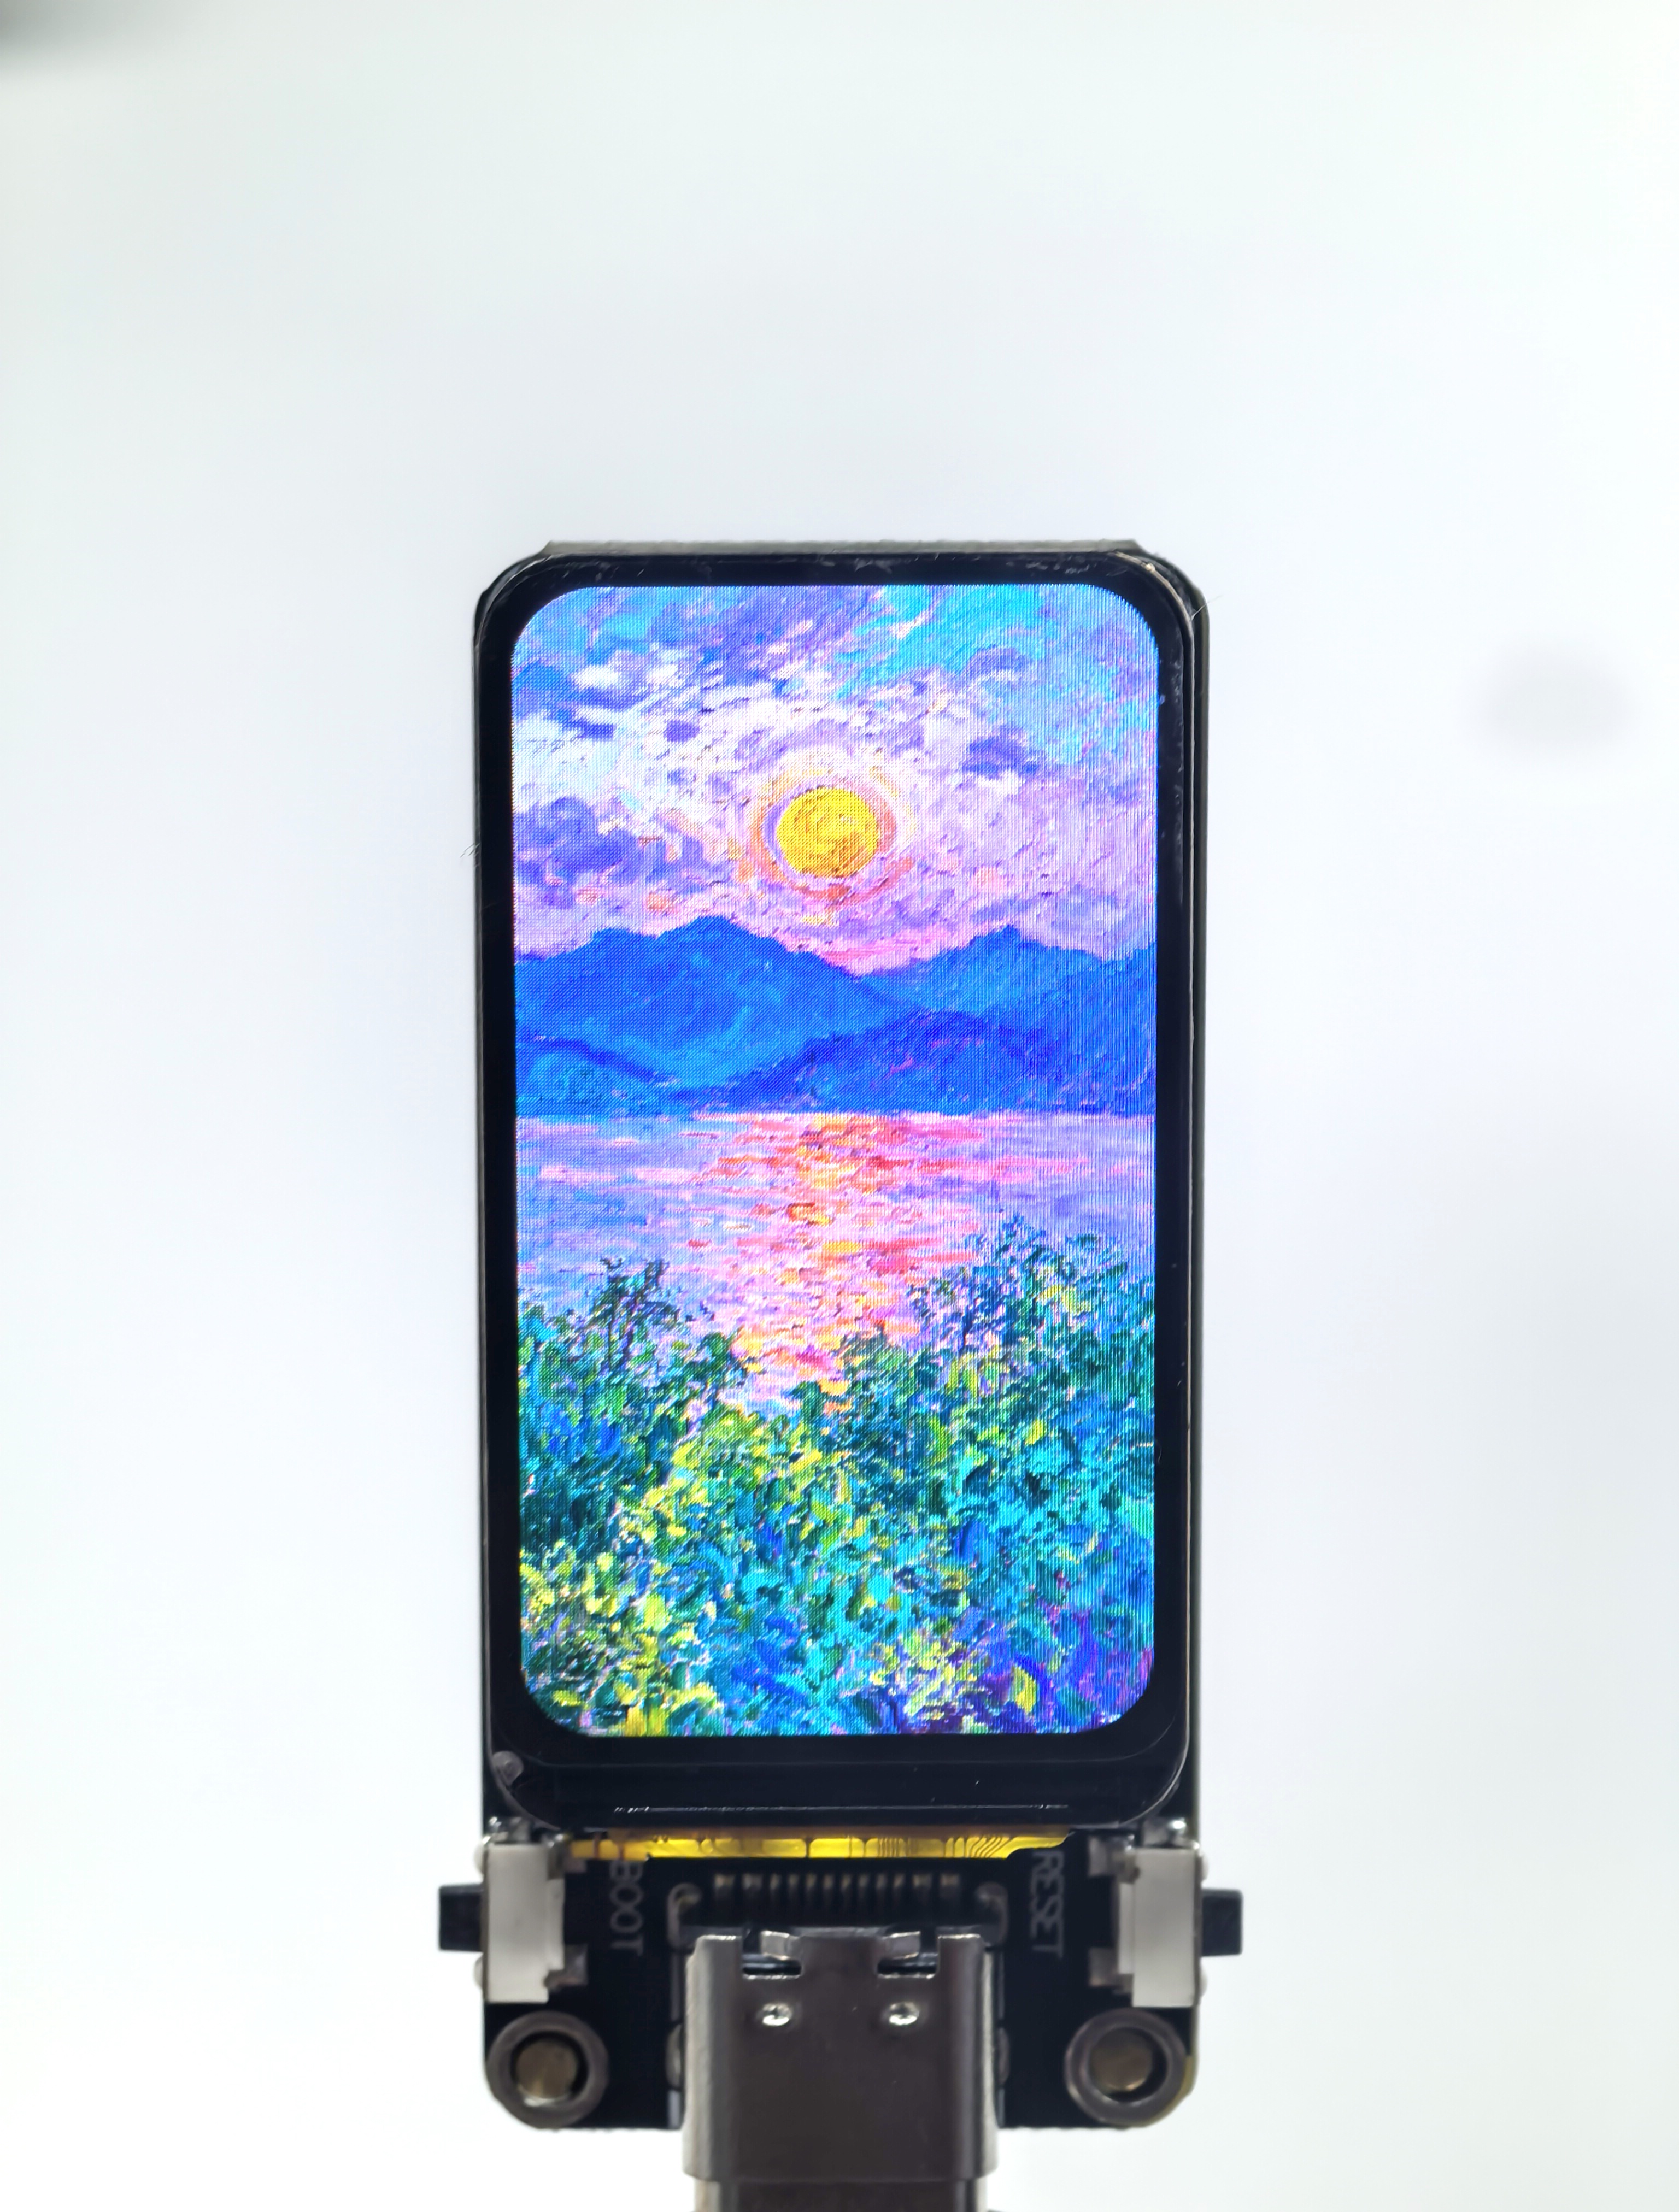
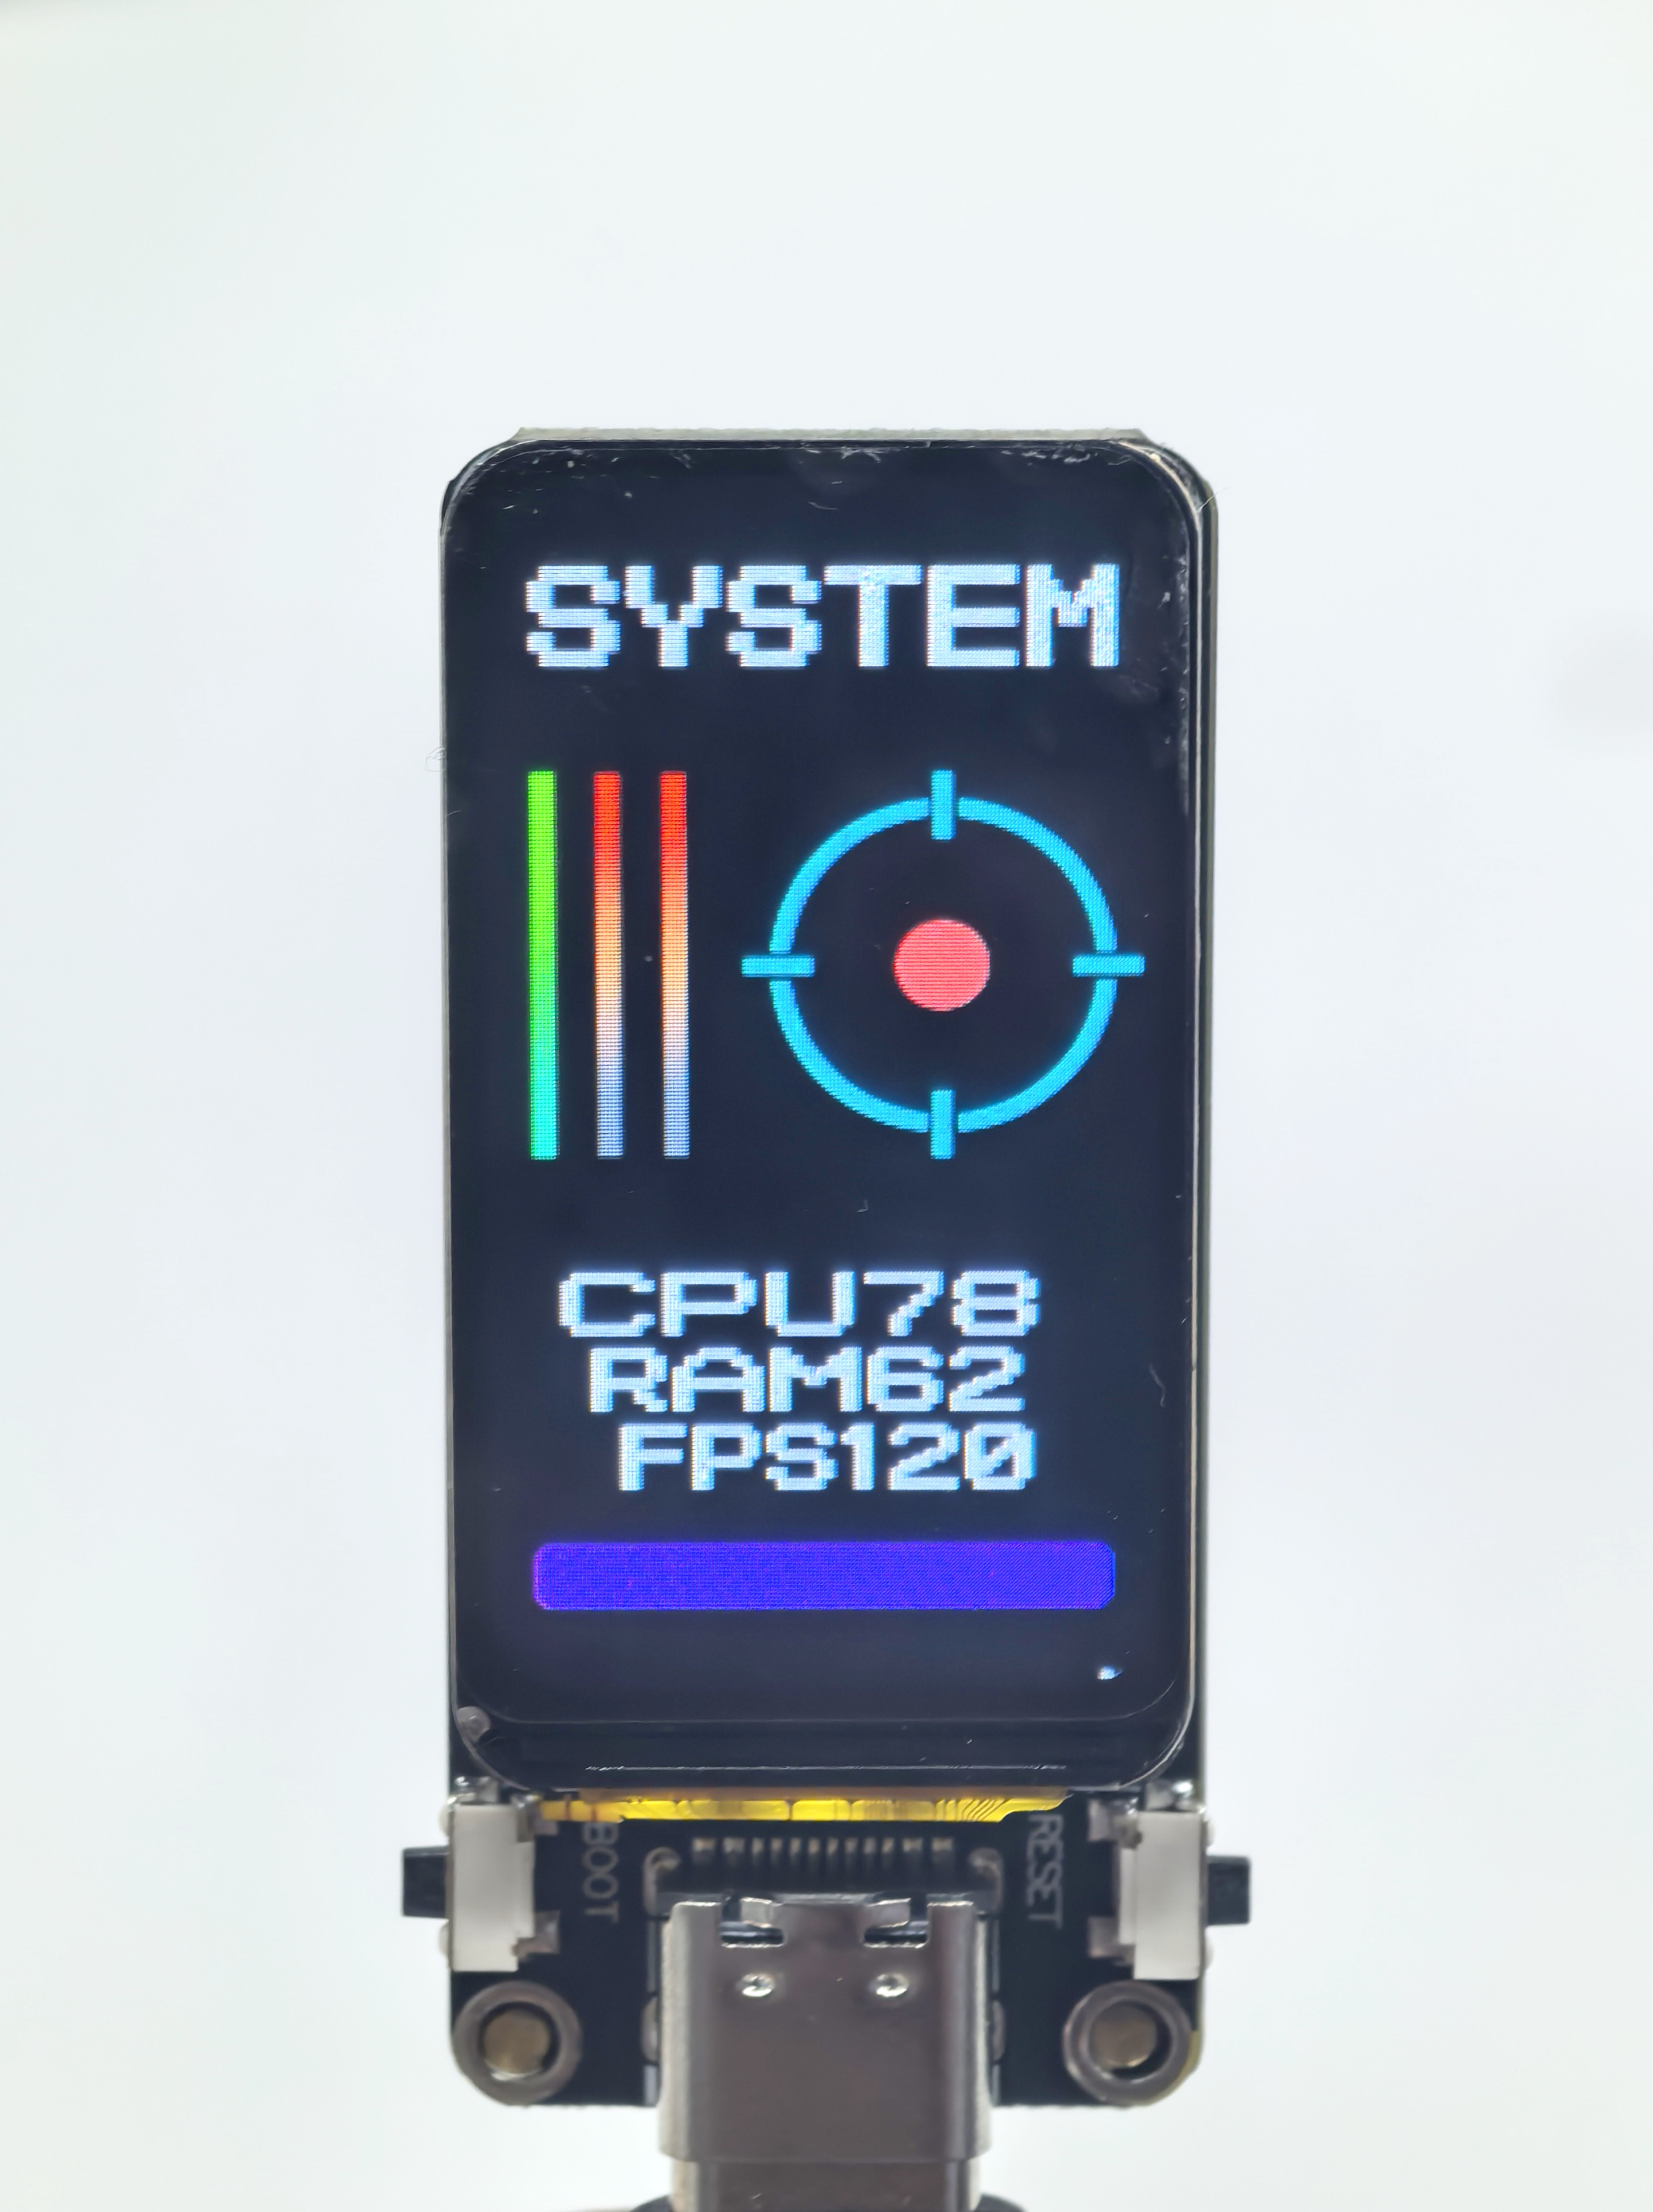
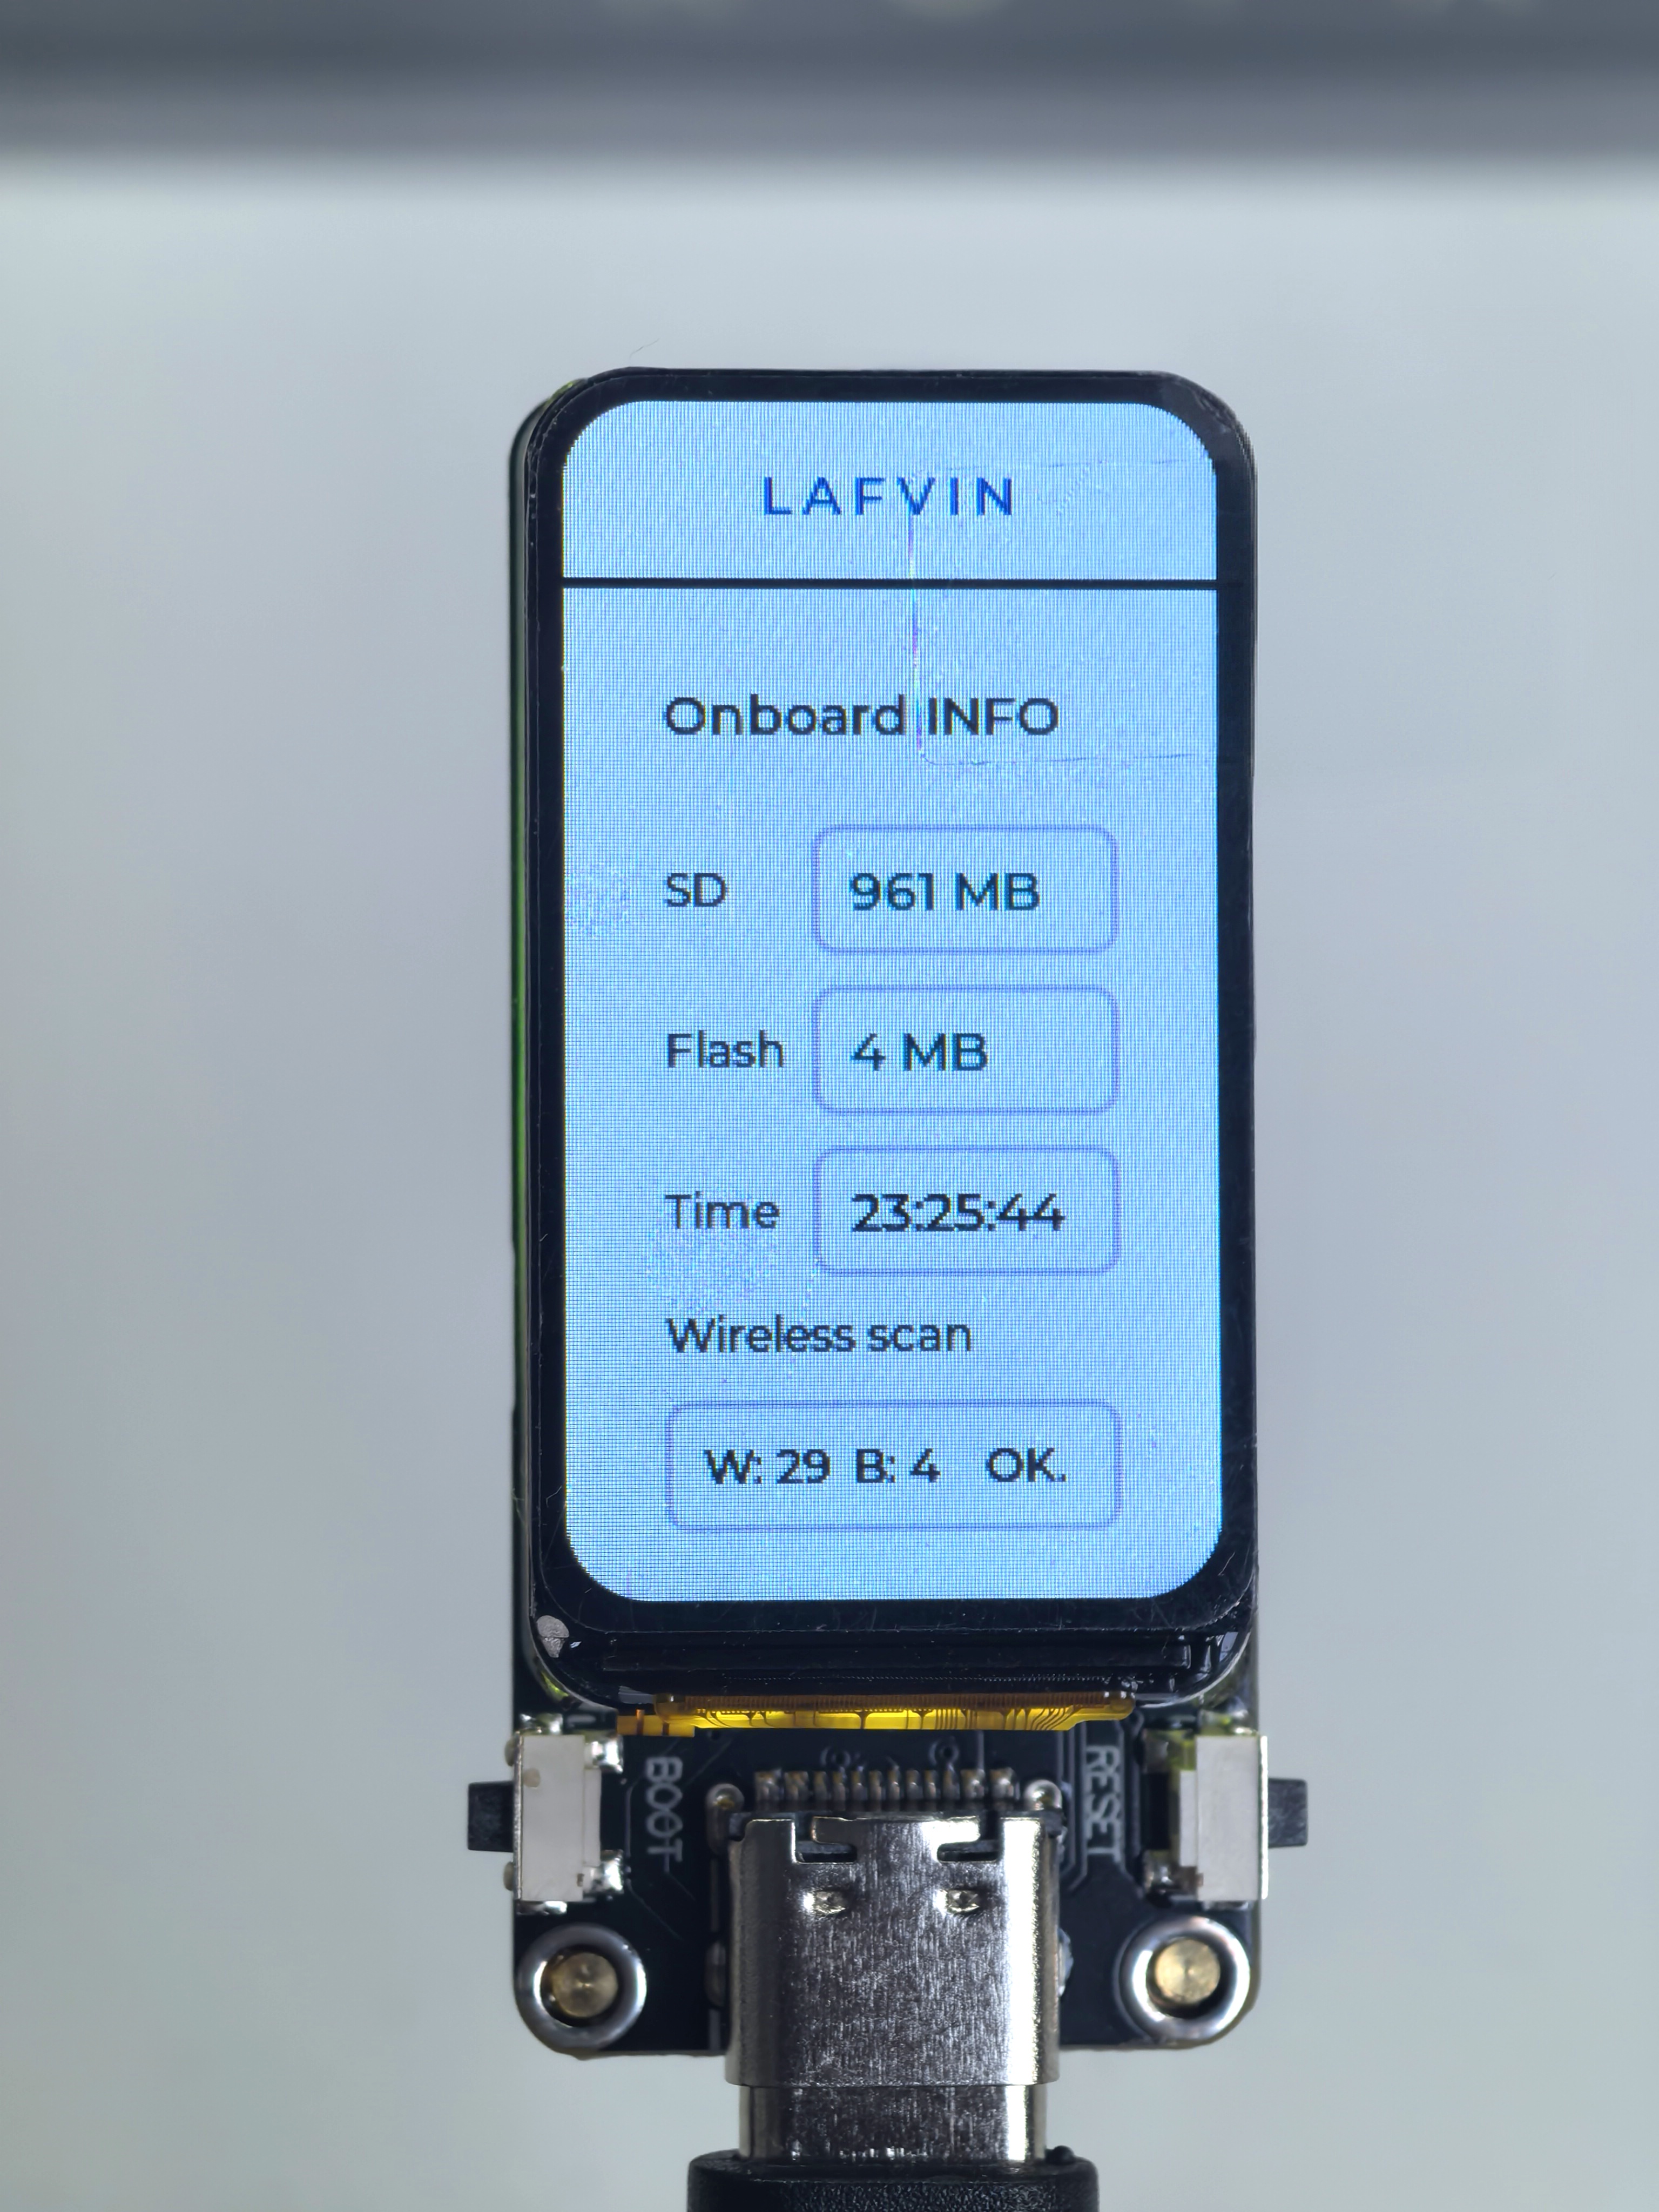
The function of this demo is to test the onboard devices. It requires the LVGL library. After uploading, the device will display SD card capacity, Flash size, running time, and the number of nearby Bluetooth and WiFi devices.
Hardware Connection
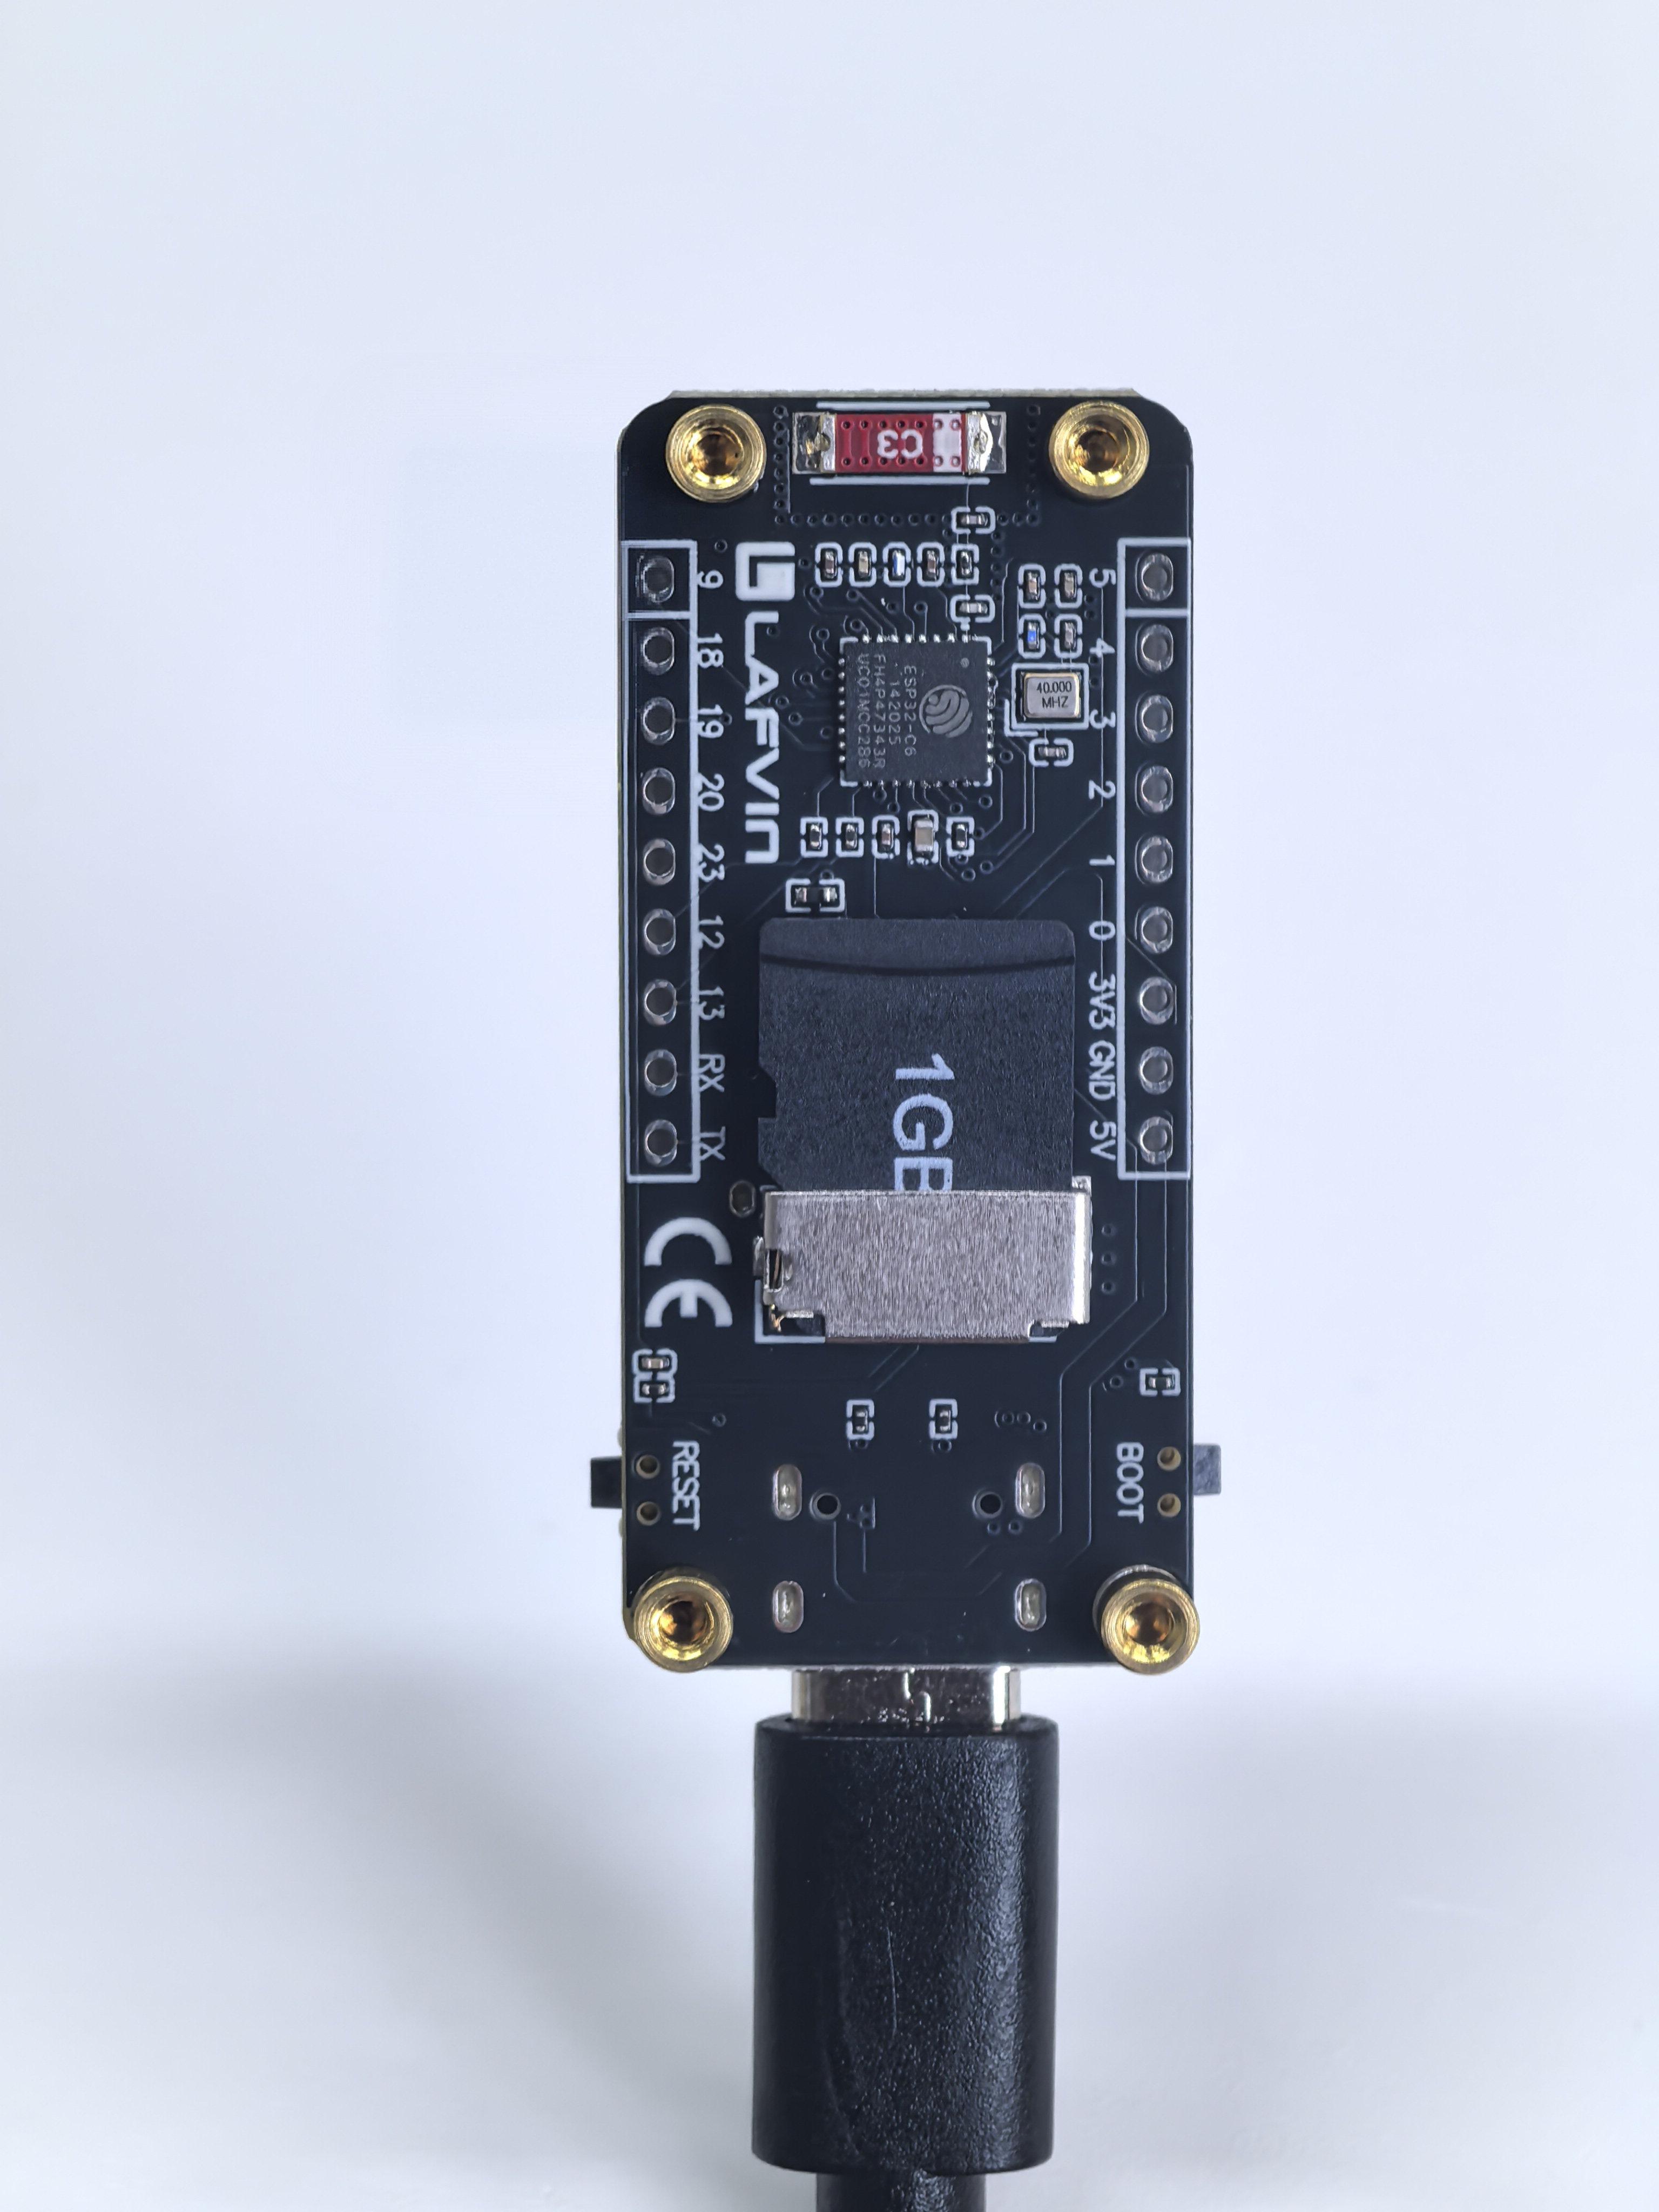
Insert the SD card into the development board and connect the board to your computer.
Code Analysis
1. Get system information
SystemInfo::printFlashInfo();        // Print Flash capacity information
Flash_Size = SystemInfo::getFlashSizeMB();  // Update the global variable for LVGL display

2. Initialize the display
display.begin();                     // Initialize the ST7789 LCD display
display.setBacklight(60);            // Set backlight brightness to 60%

3. LVGL graphics library initialization
Lvgl_Init();                         // Initialize LVGL core, buffer, and display drivers

4. SD card initialization
sdcard.begin();                      // Initialize SD card file system
SDCard_Size = sdcard.getSizeMB();    // Update the global variable for LVGL display

5. LVGL UI creation
wireless.scanAsync();               // Start WiFi and BLE scanning task asynchronously

6. Wireless scan status update
if (wireless.isFinished()) {
    WIFI_NUM = wireless.getWiFiCount();     // Update number of WiFi devices
    BLE_NUM = wireless.getBLECount();       // Update number of BLE devices
    Scan_finish = true;                     // Mark scan as completed
}

7. LVGL event handling
Timer_Loop();                        // Handle LVGL timers, redraw, animation, etc.
delay(5);
Run Result
LVGL_Image
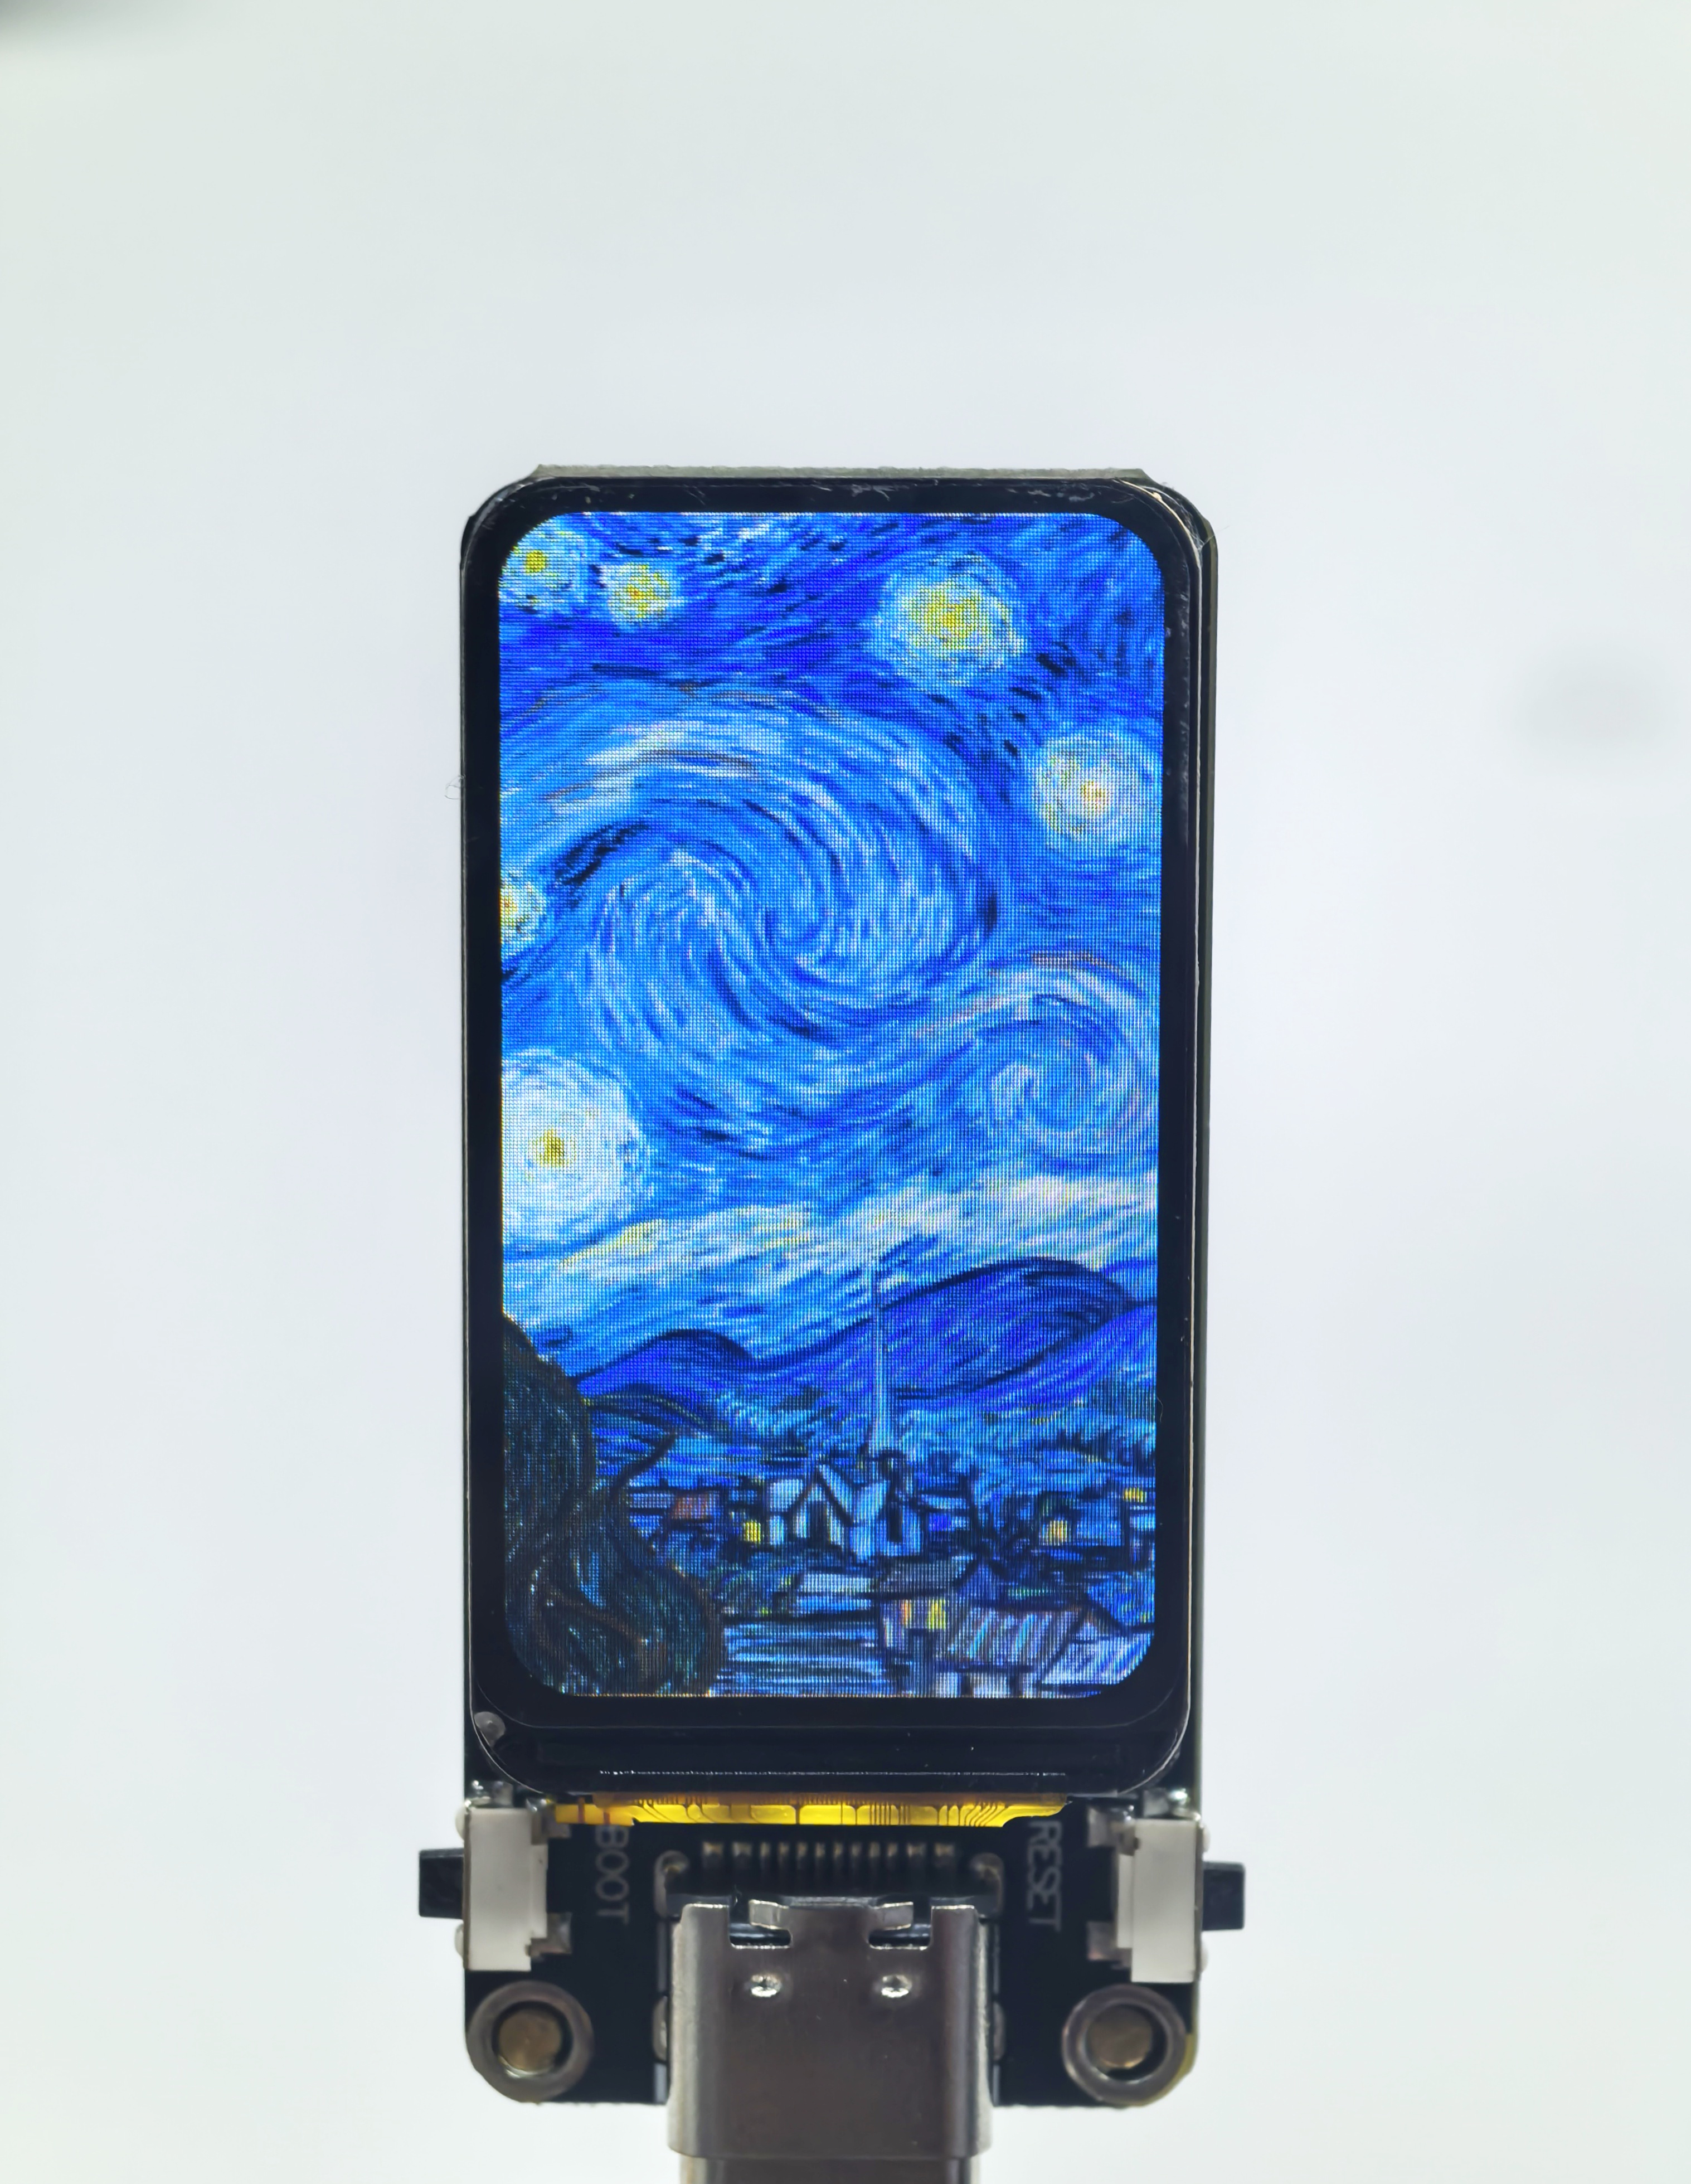
The function of this demo is to display a slideshow of PNG files in the SD card. It requires the PNGdec library. After uploading, the device will display PNG files from the SD card in a slideshow.
Image Preparation
Copy the provided images to the SD card, or add your own images (must be 172x320 pixels, PNG format).
Hardware Connection
Insert the SD card into the development board and connect the board to your computer.
Code Analysis
1. searchImages() // Clear the list → Use SD card manager to search for .png files → Save to imageFileList

2. displayImage() // Check the list → Build file path → Call showImage()

3. showImage() // Open PNG file → Decode line by line → Convert to RGB565 format → Draw to LCD
pngOpen()  // Open SD card file
pngRead()  // Read file data
pngSeek()  // Seek file position
pngDraw()  // Draw line by line to LCD (byte order conversion: big endian → little endian)
pngClose() // Close file

4. autoPlayImages() // counter++ → After 300 times → Switch to next image → Loop
Run Result